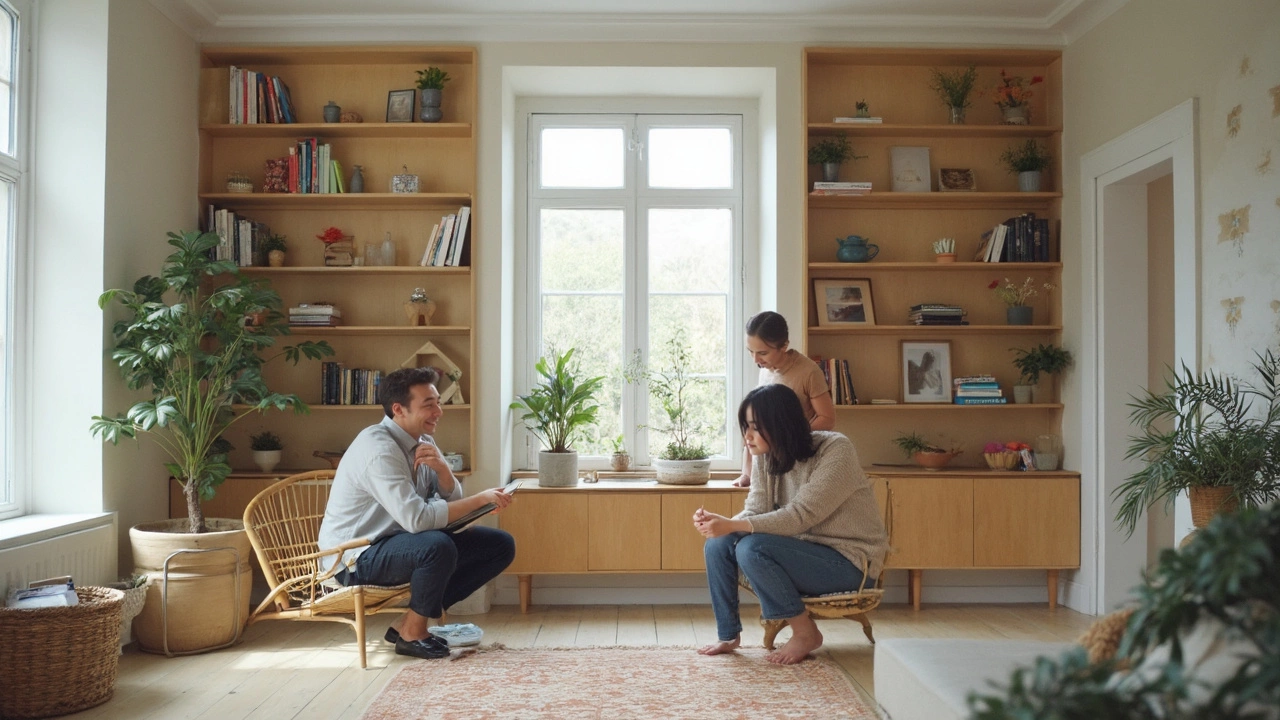
DIY Shelving: Simple Projects to Boost Home Storage
Running out of space? A few shelves you build yourself can free up drawers, tidy up clutter and give rooms a fresh look. You don’t need a contractor or pricey materials – just a bit of planning, a hammer, and the right wood or brackets. Below you’ll find practical choices, a quick build plan and tips to keep the project safe and sturdy.
Choose the Right Shelving Style
First decide where the shelf will live. In a living room, floating shelves keep the floor clear and showcase books or plants. In a kitchen, open‑frame shelves let you store mugs and spices within arm’s reach. For a hallway, narrow wall‑mounted units hold keys, gloves and mail without crowding the path.
Materials matter too. Pine is cheap and easy to cut, perfect for casual rooms. If you want a sleek look, MDF painted glossy works well for modern decor. For heavy items like books, go with plywood or solid hardwood – they hold more weight without bowing.
Measure the wall space. Aim for a shelf length that leaves at least two inches on each side for brackets or a backing board. Height matters: place a shelf about eye level for display pieces, but lower for everyday reach in kitchens or bathrooms.
Step‑by‑Step Build Guide
1. Gather tools and supplies. You’ll need a saw (hand or circular), drill, level, stud finder, brackets or a mounting rail, sandpaper, paint or stain, and screws. Having everything on hand speeds up the job.
2. Cut the board. Mark the desired length on the wood and cut straight. A quick sand on the edges prevents splinters and gives a clean finish.
3. Finish the wood. Apply a coat of paint, stain or clear sealant before you mount the shelf. Doing this while the board is flat makes the job easier and avoids drips on the wall.
4. Find the studs. Use a stud finder to locate solid points behind the drywall – they’re the safest anchors for weight. Mark the bracket positions, making sure they’re level.
5. Attach brackets or rail. Drill pilot holes into the studs, then screw the brackets in place. If you prefer a floating look, install a hidden metal bar that slides into a routed channel on the back of the board.
6. Hang the shelf. Lift the finished board onto the brackets or slide it onto the hidden bar. Tighten any set screws so the shelf stays flush.
7. Load wisely. Place lighter items on the top row and heavier books or storage bins lower down. Even distribution keeps the shelf balanced and reduces stress on the brackets.
These steps work for most DIY shelving projects, but feel free to adapt to your space. Want extra style? Add decorative trim, LED strip lighting, or a back panel in a contrasting color. For renters, consider removable adhesive brackets that won’t damage walls.
When you finish, you’ll notice a big difference: clutter disappears, rooms feel larger, and you’ve added a personal touch without breaking the bank. Give one of these quick shelves a try this weekend – you’ll be surprised how fast the space transforms.
