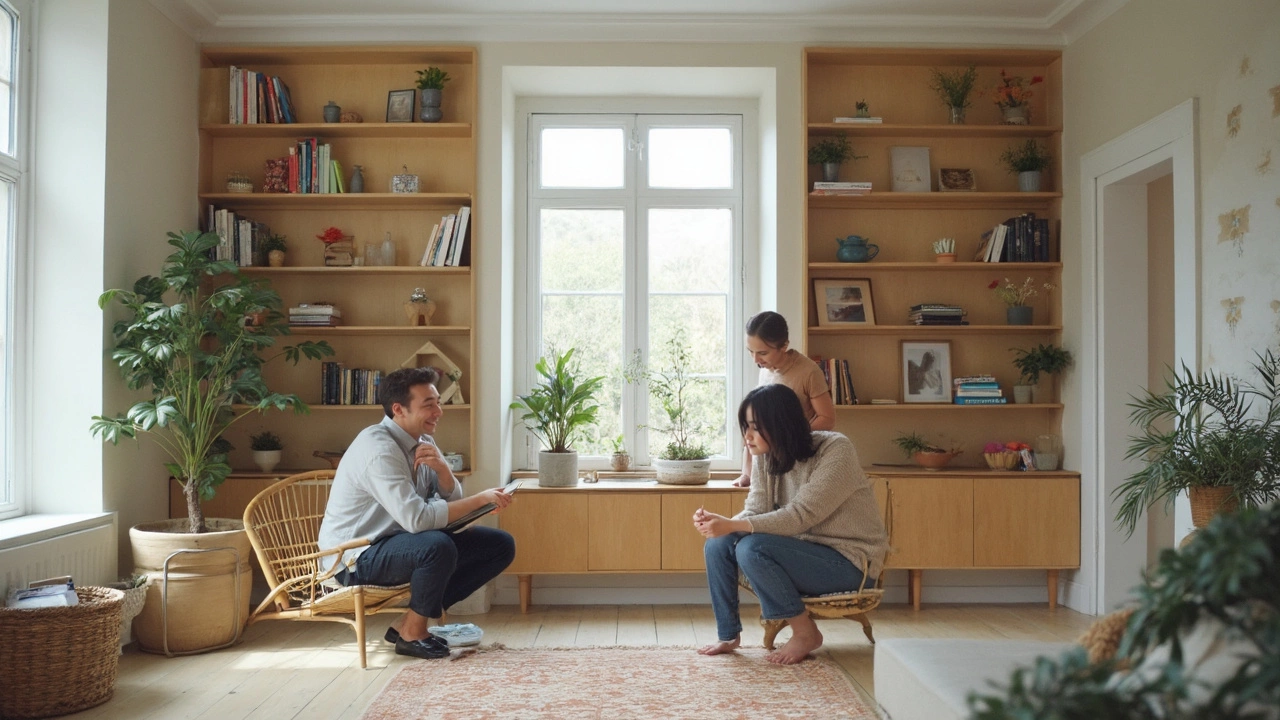
Make Shelves Quickly: Simple DIY Storage Solutions for Every Home
If you’re tired of clutter but don’t want to splurge on pricey furniture, making your own shelves is a game‑changer. With a few basic tools and some clever thinking, you can turn an empty wall into a functional display area in an afternoon. Below you’ll find a step‑by‑step guide that keeps things straightforward and budget‑friendly.
Plan Your Shelf Like a Pro
First, decide where the shelf will live. Look for a wall that can bear weight – studs are your friends. Measure the space from floor to ceiling and note any obstacles like windows or vents. Sketch a quick diagram: decide on the length, depth, and number of shelves you need. A good rule of thumb is to keep each shelf no deeper than 12‑14 inches; that’s enough for books, plants, or décor without sticking out too far.
Next, pick your material. Plywood, pine boards, or reclaimed wood all work well and cost less than $2 per square foot. If you want a polished look, go for a light‑colored plywood and sand it smooth. For a rustic vibe, reclaimed barn wood adds character without extra paint.
Build and Install Your Shelf
Gather your tools: a drill, level, stud finder, measuring tape, screwdriver, and a saw if you need to cut the boards. Cut the boards to the lengths you sketched, then sand the edges. If you’re using plywood, consider painting or staining before you assemble – it’s easier to get an even coat when the pieces are separate.
To mount the shelf, start by locating studs with the stud finder and marking them. Attach L‑shaped brackets to the wall first; make sure each bracket sits on a stud for maximum support. If you’re using floating shelf brackets, follow the manufacturer’s instructions for spacing and weight limits.Place the board on the brackets, check for level, and secure it with screws from underneath. For extra stability, drive a few screws through the board into the studs directly. Tightening these screws tightens the whole structure, so the shelf won’t wobble when you load it up.
Now the fun part – styling your new shelf. Mix books, decorative boxes, and a few plants for a balanced look. Use bookends or small baskets to keep items from sliding. If you have kids, add a low shelf for toys to keep the floor tidy.
Maintenance is minimal. Dust the surface weekly and tighten any loose screws after a few months of use. If you painted the shelf, touch up any chips to keep it looking fresh.
Making your own shelves not only frees up space, it adds a personal touch to any room. With the right planning, affordable materials, and a few simple tools, you can create strong, stylish storage that fits your lifestyle. Ready to get started? Grab those boards and give your walls the upgrade they deserve.
