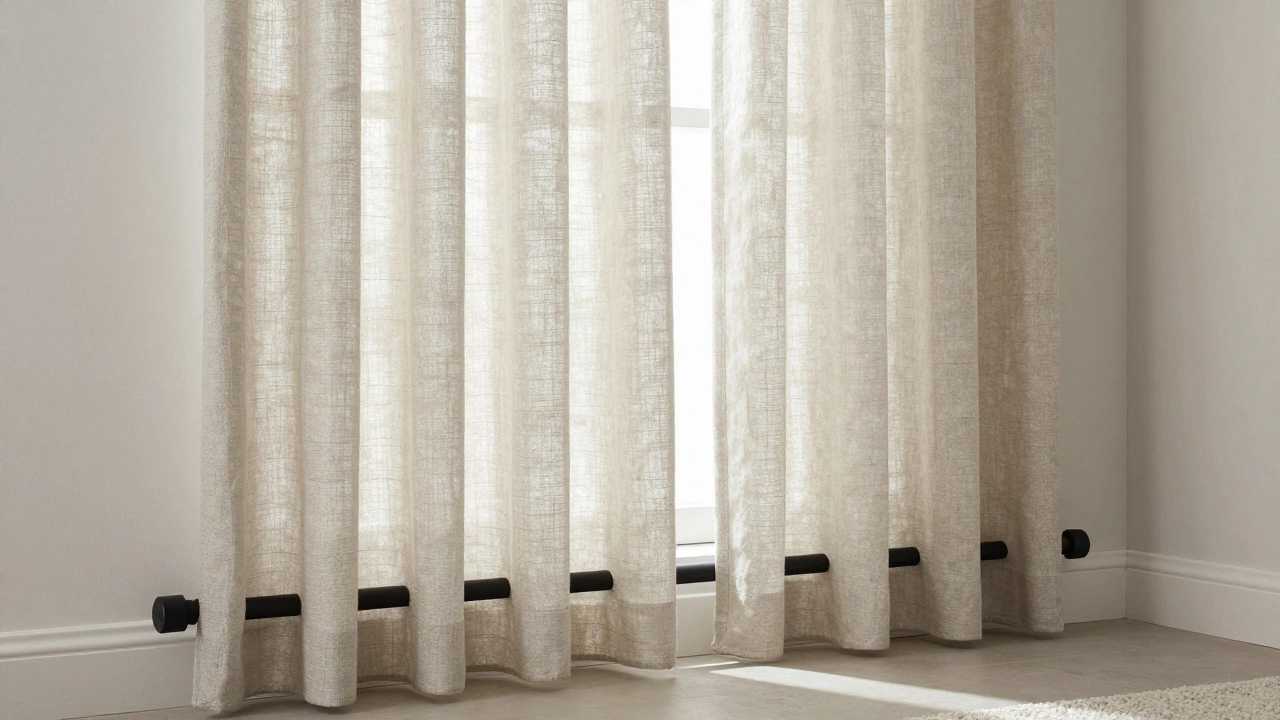
How to Install Curtains Like a Pro
Got new curtains and no idea where to start? You’re not alone. Most people think hanging curtains is a hassle, but with the right plan it’s a quick weekend job. This guide walks you through every step, from measuring the window to the final adjustment, so you can enjoy a polished look without hiring anyone.
Measure Twice, Get the Right Fit
The first thing you need is accurate measurements. Grab a tape measure and note three numbers: the window width, the window height, and the distance from the wall to the floor (or to the spot where you want the curtains to end). A good rule of thumb is to add 2‑4 inches on each side for a fuller look. For most rooms, a rod that extends 8‑12 inches beyond the window frame on each side works great.
Next, decide how high you want the rod. Mounting the rod 4‑6 inches above the window frame makes the ceiling look higher and lets more light in. If you have low ceilings, keep the rod close to the top of the frame to avoid a cramped feel.
Pick the Right Hardware
There are three common options: standard brackets, decorative finials, or tension rods. Standard brackets are cheap and sturdy; just make sure they can hold the weight of your curtains. Decorative finials add style but need the same support. Tension rods are perfect for lightweight sheers and don’t require drilling, but they’re not suitable for heavy fabrics.
When you buy a rod, check the weight rating. If you’re hanging a thick blackout curtain, look for a rod rated for at least 10‑15 pounds per side. It’s better to over‑engineer than to watch your rod bend after a few weeks.
Grab a drill, a level, a pencil, and the screws that came with your brackets. If you’re mounting on plaster, use drywall anchors. For wood, the screws straight into the studs will hold best.Here’s a quick drill‑down on the installation steps:
- Mark the bracket spots. Use the level to draw a straight line where the rod will sit. Mark the screw holes on each bracket.
- Pre‑drill holes. A ½‑inch drill bit works for most walls. Insert anchors if needed.
- Screw in the brackets. Tighten until they feel solid but don’t crush the wall.
- Place the rod. Slide the rod onto the brackets, then attach any finials.
- Hang the curtains. Pull the curtains onto the rod or slide the rings/pockets onto it.
Give the rod a gentle tug to make sure it’s secure before you pull the curtains all the way open.
Finishing Touches and Maintenance
After the curtains are up, step back and check the alignment. If the rod is crooked, loosen the brackets, tap the rod back into place, and retighten. For a clean look, make sure the curtains drape evenly on both sides.
To keep your curtains looking fresh, dust the rod and brackets every few weeks. If you notice the fabric pulling at the seams, remove the curtains and re‑hang them using wider rings or a stronger rod.
That’s it—your window dressing is ready. With a little measuring, the right hardware, and a few minutes of DIY work, you’ve turned a plain room into a cozy, styled space. Enjoy the new view and the compliments that follow!

