Common Mistakes When Hanging Curtains - Avoid Bad Installations
 Oct, 23 2025
Curtain Measurement Calculator
Calculate precise measurements for your curtains to avoid common installation mistakes
Recommended Measurements
Enter your window measurements to see recommended curtain dimensions
When you think about freshening up a room, Curtains are one of the quickest ways to add color, texture, and privacy. But a sloppy install can turn a stylish upgrade into a daily annoyance. Below you’ll discover the most common pitfalls that people run into when hanging curtains, why they happen, and exactly how to avoid them.
Measuring Mistakes That Throw Off the Fit
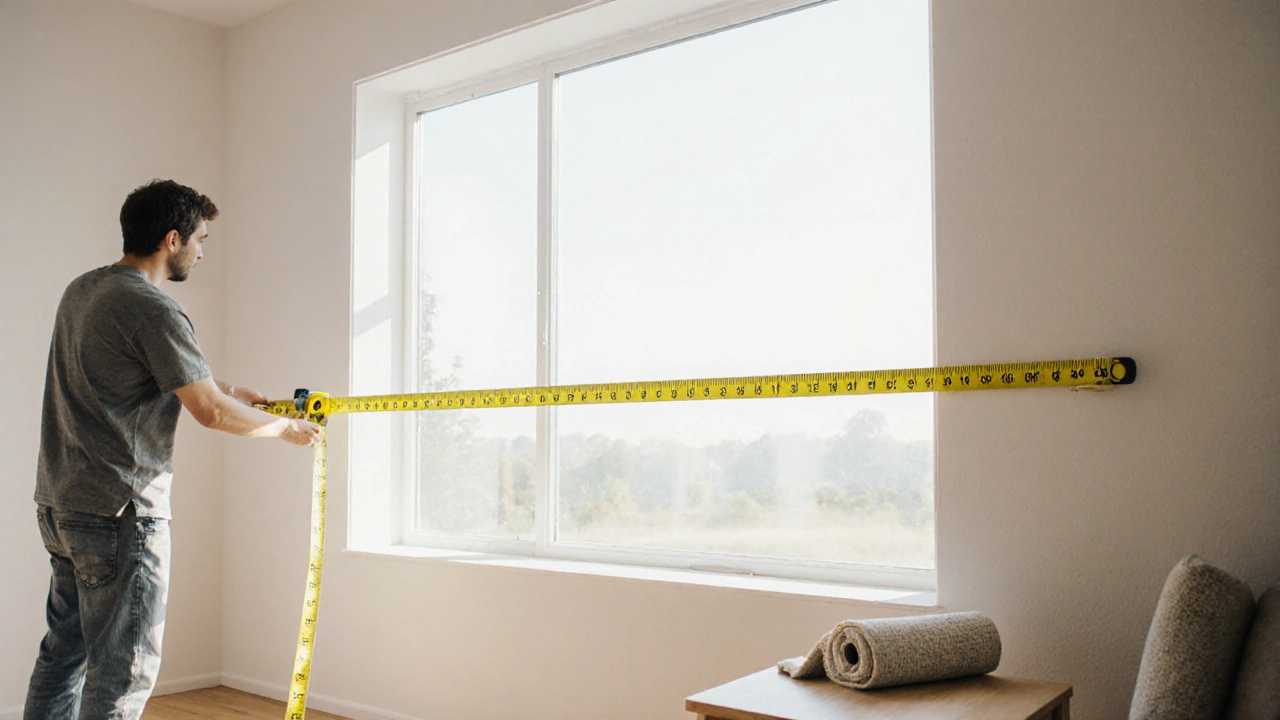
Most errors start with bad numbers. Too short, too long, or the wrong width - any of these will make the fabric look floppy or cramped. First, grab a Measuring Tape a flexible retractable tool used for accurate interior measurements and note three key distances: the window opening width, the desired curtain length (from rail to floor or sill), and the clearance for the rod.
- Always add at least 4‑6 inches to the width so the curtains can gather nicely when closed.
- For a floor‑pounding look, measure to the floor and subtract ½‑1 inch; for a hover‑above‑floor style, stop 2‑3 inches above the floor.
- Don’t forget the rod’s diameter - a thicker rod reduces the visible length of the fabric.
Skipping these checks often leads to curtains that either barely cover the window or swamp the floor.
Choosing the Wrong Curtain Rod
The rod isn’t just a placeholder; it supports the whole system. A rod that’s too light for heavy drapes will sag, while an overly bulky one can dominate a small room. Look for a Curtain Rod a metal or wooden bar that holds curtain brackets and supports fabric made of sturdy material and rated for the weight of your curtains.
If you’re using blackout or linen drapes, aim for a rod with a minimum load rating of 10‑15 lbs per foot. For lightweight voiles, a simple aluminum rod will suffice.
Bracket Placement Errors
Even a perfect rod can look off if the brackets aren’t positioned right. Most beginners mount brackets too close to the window frame, which limits the window’s view and makes the curtains look cramped.
Here’s the rule of thumb: place brackets about 2‑3 inches wider than the window frame on each side. This extra width frames the window, adds a sense of grandeur, and lets light filter in even when the curtains are closed.
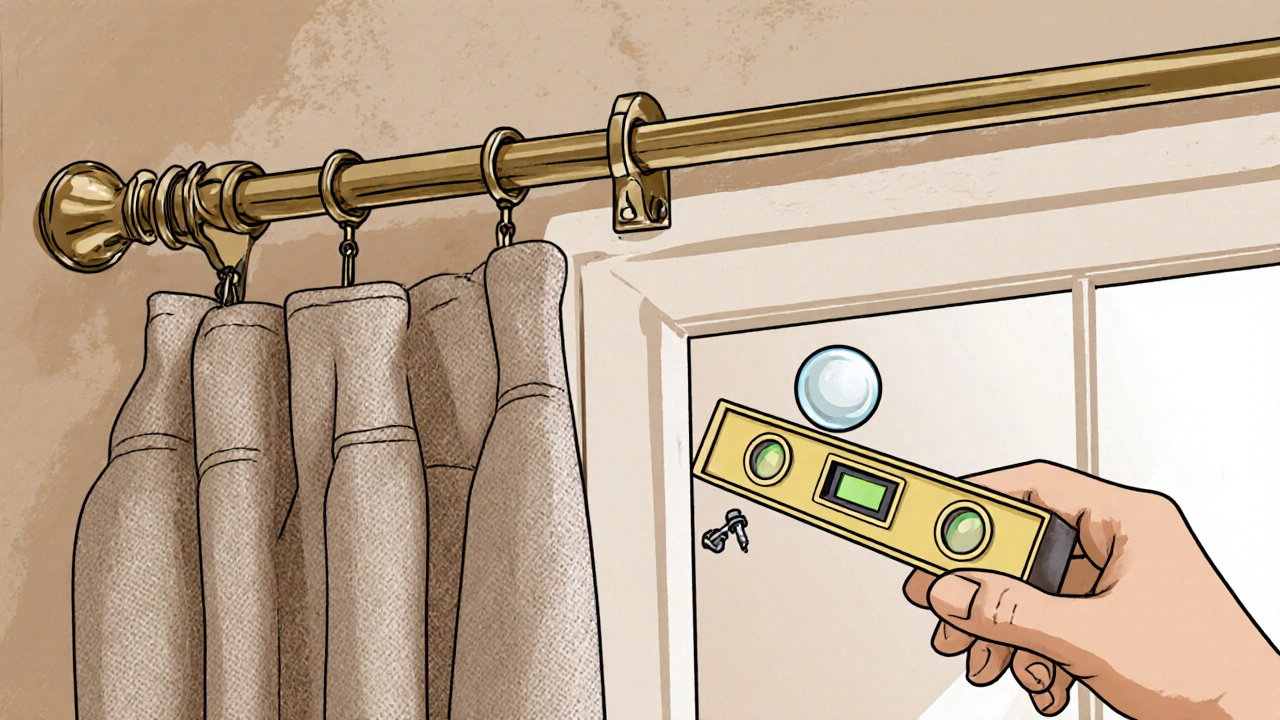
Ignoring Level and Height
A crooked rod is an eyesore that screams “DIY disaster.” To keep everything straight, use a Level a tool with a bubble to indicate horizontal alignment. Align the level with the top of the brackets before drilling.
Another subtle mistake is mounting the rod too low. If the rod sits below the top of the window, the curtain’s visual height is reduced, making ceilings appear lower. Mount the rod 4‑6 inches above the window frame for a balanced look.
Skipping Proper Wall Anchors
Drywall, plaster, and brick each demand different fasteners. Drilling a regular screw into drywall without a wall anchor will cause the bracket to wobble or pull out as the curtains are drawn.
Use Wall Anchors plastic or metal inserts that expand behind drywall for secure screw placement rated for the weight of your rod and brackets. For masonry, a hammer drill with masonry anchors is essential.
Overlooking Fabric Weight and Finials
Heavier fabrics need stronger support, and the choice of finials can affect balance. A marble finial on a light rod can tip the whole system, while a flimsy plastic finial on a heavy rod may break.
Select finials that complement the rod’s material and the curtain’s weight. If you have thick linen curtains, consider brass or wood finials that add just enough counterweight without overwhelming the design.
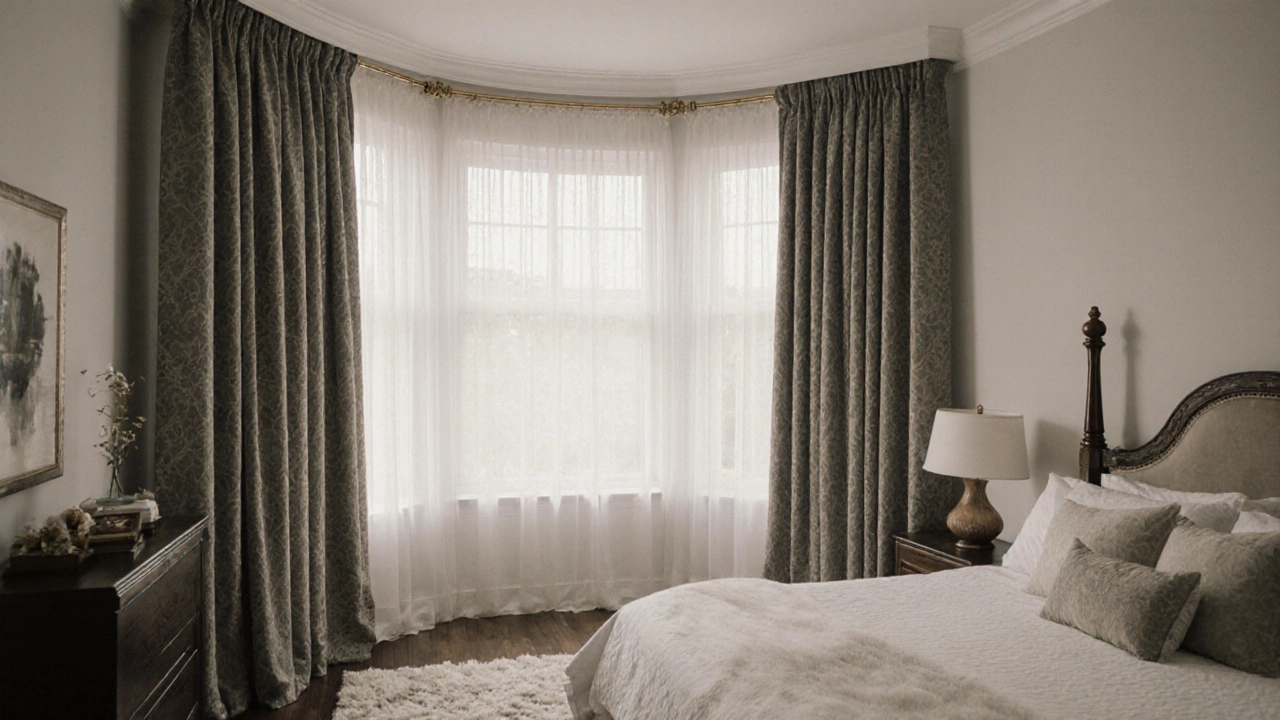
Not Accounting for Window Frame Shape
Every window is a little different. Bay windows, sliding glass doors, and tall arches need custom solutions. A standard rod might not clear a protruding bay, and a single rod across a sliding door can make the glass hard to open.
For bay windows, use a double‑rod system that follows the curve. For sliding doors, install a tension rod or a double‑track system that lets you slide the curtains open without hitting the door hardware.
Quick Checklist and Pro Tips
- Measure twice, add extra width for gathering.
- Pick a rod that can handle the curtain’s weight.
- Mount brackets at least 2‑3 inches beyond the window frame.
- Use a level to ensure the rod is perfectly horizontal.
- Choose the right wall anchors for your wall type.
- Match finials to rod material and curtain weight.
- Adjust rod length and placement for special window shapes.
Following this common mistakes when hanging curtains guide will save you time, money, and the frustration of rehanging. You’ll end up with a polished look that frames your windows perfectly.
Frequently Asked Questions
How far above the window should I install the curtain rod?
Mount the rod 4‑6 inches above the top of the window frame. This adds visual height, lets more light in when the curtains are closed, and creates a balanced look.
Can I use standard drywall screws without anchors?
Only for very light rods and short curtains. For anything heavier, wall anchors are essential to prevent the brackets from pulling out.
What width should my curtains be relative to the window?
Add 4‑6 inches to the window’s width. This allows the fabric to gather nicely and ensures full coverage when the curtains are closed.
Do I need a different rod for blackout curtains?
Yes. Blackout curtains are heavier, so choose a rod rated for at least 10‑15 lbs per foot and pair it with sturdy brackets.
How can I ensure the rod stays level without a professional?
A simple bubble Level is enough. Position it on the brackets before drilling and adjust the screw depth until the bubble stays centered.
| Mistake | Why It Happens | Simple Fix |
|---|---|---|
| Incorrect width measurement | Forgetting to add gathering allowance | Measure window, then add 4‑6 inches before buying fabric |
| Rod too weak for fabric | Choosing a thin aluminum rod for blackout curtains | Pick a rod rated for the curtain’s weight (10‑15 lbs/ft) |
| Brackets too close to frame | Installing at the edge of the window opening | Place brackets 2‑3 inches beyond each side of the frame |
| Rod not level | Skipping the level check | Use a bubble level on the brackets before drilling |
| Missing wall anchors | Driving screws straight into drywall | Use appropriate wall anchors for drywall, plaster, or masonry |