Floating Shelf Rules of Thumb: How to Install and Space Them Right
 Apr, 26 2026
Floating Shelf Placement Planner
Recommended Specs:
Quick Installation Checklist:
Quick Tips for Success
- Vertical Spacing: Aim for 10 to 15 inches between shelves for most items.
- Horizontal Placement: Center the shelf on the wall or align with furniture edges.
- Depth Rule: Keep shelves under 12 inches deep to avoid excessive sagging.
- Weight Limits: Always anchor into studs or use heavy-duty toggles for items over 10 lbs.
- Visual Balance: Leave "white space" around your decor so the wall can breathe.
Getting the Height Just Right
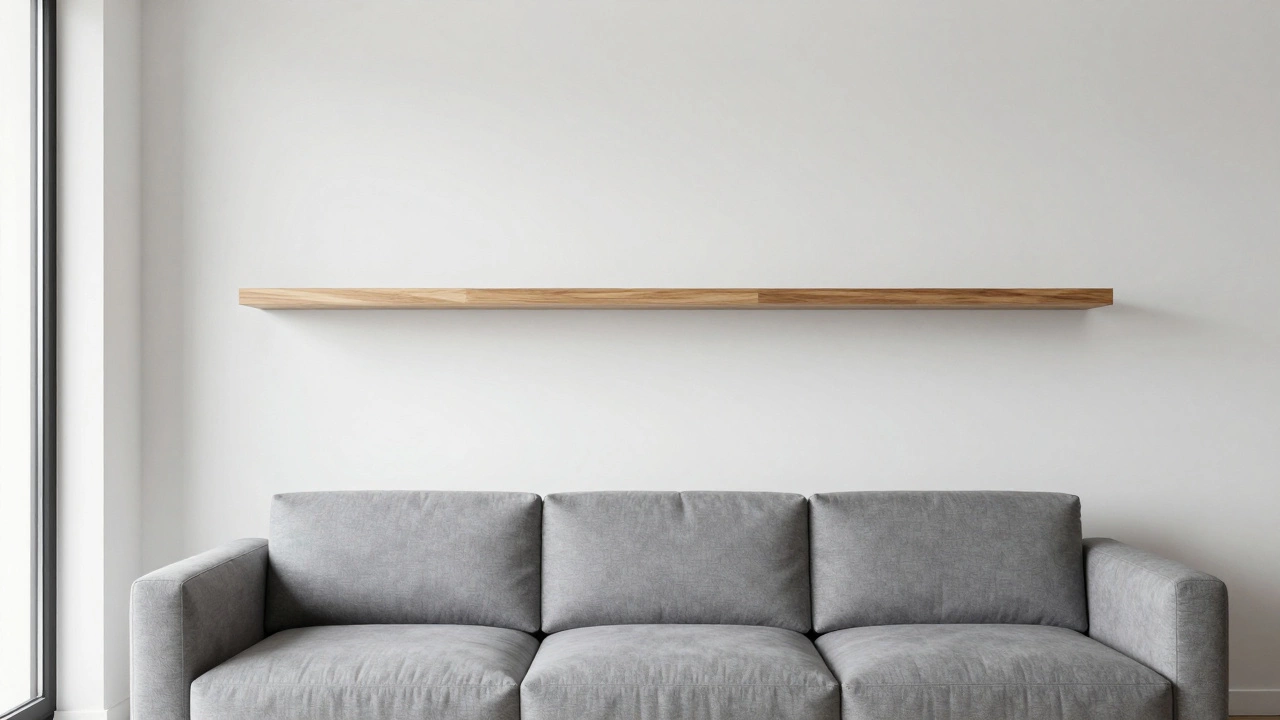
Where you place the first shelf sets the tone for the whole room. If you're putting a shelf in a living room, a good baseline is about 36 to 42 inches above a sofa. This keeps the items within reach but prevents you from hitting your head when you stand up. In a kitchen, things change. You want your floating shelves is a type of wall-mounted shelving that lacks visible support brackets, creating a clean, minimalist appearance to be accessible. Typically, the first shelf above a counter should be 18 to 24 inches high. This gives you enough room to use a toaster or a coffee maker without the shelf feeling like a ceiling hanging over your head. If you're creating a gallery wall effect with multiple shelves, don't just guess. Use a consistent gap between them. For standard books and small plants, 12 inches is the sweet spot. If you're displaying taller vases or art pieces, bump that up to 16 or 18 inches. If the gaps are too small, the area looks cramped; too large, and the shelves look disconnected from each other.Picking the Right Depth for Your Space
One of the biggest mistakes people make is buying a shelf that is too deep for the room. A massive 15-inch deep shelf in a narrow hallway is a recipe for bumped shoulders and bruised hips. For most rooms, a depth of 6 to 10 inches is plenty. A 6-inch shelf is perfect for small trinkets, spices, or framed photos. An 8 to 10-inch shelf is the standard for books and medium-sized decor. Once you cross the 12-inch mark, you're dealing with a significant amount of leverage. Because floating shelves rely on an internal bracket or a hidden cleat, the deeper the shelf, the more force is applied to the wall connection.| Room | Ideal Depth | Best For... |
|---|---|---|
| Hallway | 4-6 inches | Keys, small art, candles |
| Living Room | 8-12 inches | Books, plants, electronics |
| Kitchen | 6-10 inches | Glassware, jars, cookbooks |
| Bathroom | 5-8 inches | Towels, skincare, perfumes |
The Golden Rule of Weight and Support
Let's talk about the "invisible" part of the shelf. The biggest fear with floating shelves is the "dip" or, in worst-case scenarios, the shelf ripping out of the wall. This usually happens because of a failure to understand wall studs is the vertical framing members of a building's wall that provide structural support for the drywall. If you can screw your bracket directly into a stud, you're golden. Most houses use a 16-inch center spacing for studs. If your shelf is 32 inches long, you can hit two studs, which is ideal. But what if the stud isn't where you want the shelf? This is where toggle bolts is a heavy-duty wall anchor that expands behind the drywall to distribute weight across a larger area come into play. Never use the cheap plastic anchors that come in the box if you plan on putting anything heavier than a few postcards on the shelf. Plastic plugs can pull out under a constant load. A metal toggle bolt can hold significantly more weight-often up to 50 lbs per bolt depending on the drywall thickness-because it grips the back of the wall rather than just wedging into it.Styling Without the Clutter
Once the shelves are up, the challenge shifts to how you fill them. A common mistake is treating a shelf like a storage bin. If you pack it from edge to edge, you lose the "floating" effect and it just looks like a heavy block of wood on your wall. Try the "Rule of Three." Group items in odd numbers. For example, place a tall plant, a medium-sized book, and a small candle together. This creates a visual triangle that is more pleasing to the eye than a symmetrical line. Mix your textures too. If you have a heavy wood shelf, soften it with a trailing plant like a Pothos or a piece of ceramic pottery. Balance the "weight" of the items. Put the heaviest, largest items on the bottom shelf and the lighter, smaller items on the top. This keeps the whole installation from feeling top-heavy and anxious.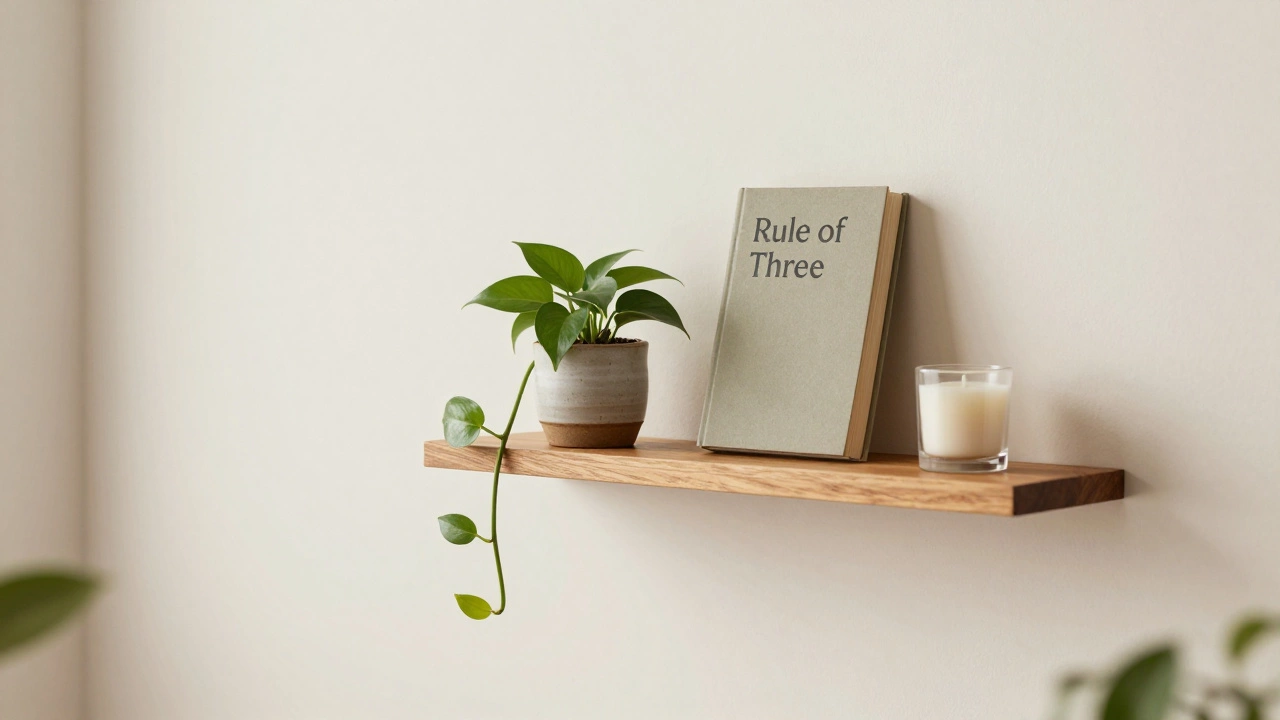
Avoiding Common Installation Pitfalls
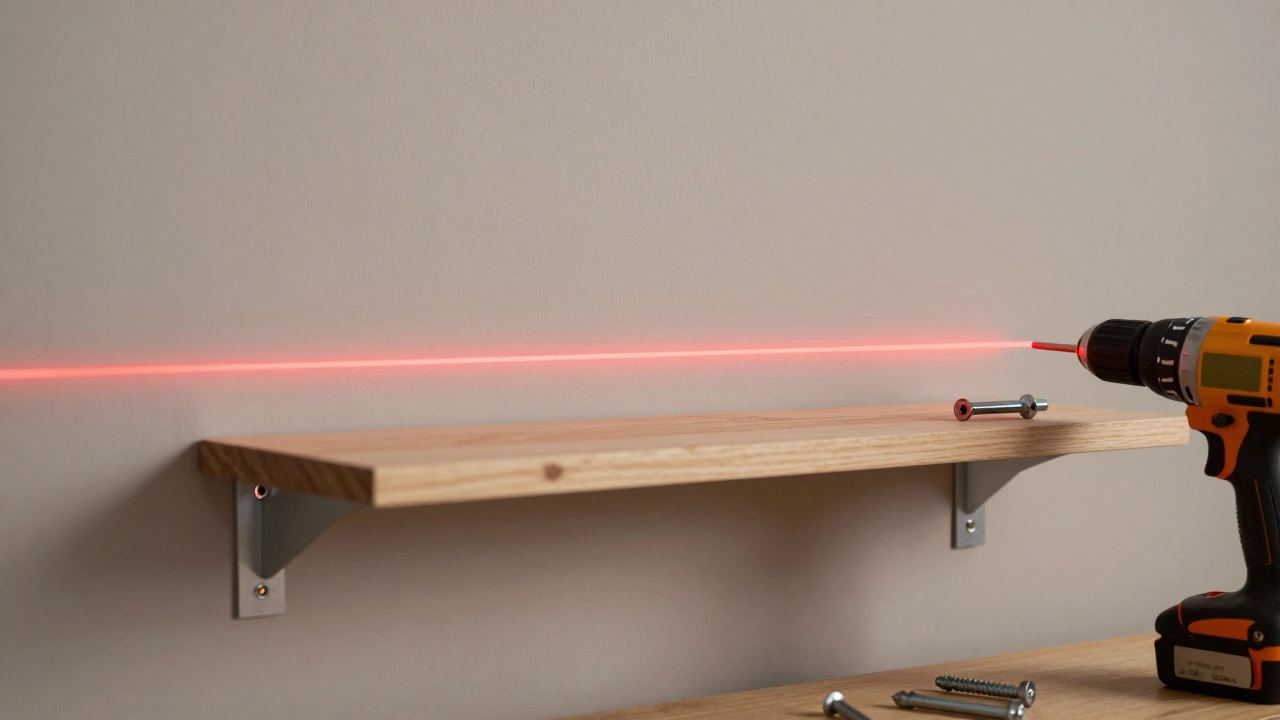
One of the most frustrating moments is finishing a project only to realize the shelf is slightly tilted. Gravity doesn't lie, and your books will slide off if you're off by even half a degree. A standard bubble level is a must, but for a pro tip: use a laser level. It allows you to project a perfectly straight line across the wall, making it easy to align multiple shelves without having to climb up and down a ladder every five minutes. Another pitfall is ignoring the "lip" of the shelf. Some floating shelves have a small decorative trim on the front. Ensure this doesn't interfere with any light switches or door frames. Always hold the shelf up to the wall and physically mimic the movement of the room. Can you open the cupboard door fully? Do you have to lean around the shelf to reach the light switch? Lastly, consider the material. Solid oak or walnut is beautiful and strong, but it's incredibly heavy. If you're using heavy hardwoods, you absolutely must use the strongest anchors possible. If you're using MDF (medium-density fiberboard), be careful with moisture-especially in bathrooms. MDF can swell and warp if it's not properly sealed with a waterproof varnish.How far apart should floating shelves be?
For most homes, 10 to 15 inches of vertical space is the standard. This accommodates most books and decor. If you have taller items like vases or large cookbooks, increase the gap to 16-18 inches to avoid a cramped look.
Can I install floating shelves without hitting a stud?
Yes, but you cannot use standard nails or plastic plugs. You must use heavy-duty anchors like toggle bolts or molly bolts that expand behind the drywall. However, for very heavy shelves, hitting at least one stud is strongly recommended for safety.
What is the maximum depth for a floating shelf?
Generally, try to keep floating shelves under 12 inches deep. Once a shelf extends beyond 12 inches, the leverage (torque) on the wall brackets increases significantly, which makes the shelf more likely to sag or pull away from the wall over time.
How do I stop my floating shelves from sagging?
Sagging happens due to poor support or overloading. Ensure you are using a high-quality internal bracket and that the bracket is securely fastened to studs. Also, distribute weight evenly-place heavier items closer to the brackets rather than right in the center of the span.
What is the best height for floating shelves in a kitchen?
The first shelf should typically be placed 18 to 24 inches above the countertop. This provides enough clearance for small appliances while keeping the items within easy reach.